You will need the following equipment –
1. Buckets or wheelbarrow
2. Cloth
3. Mixing tray
4. Sampling scoop
5. Sampling and testing certs
6. Slump cone and rigid metal plate
7. Slump tamping rod
8. Small scoop
9. Square mouthed shovel
10. Steel rule
Step 1
· Empty the sampling buckets on to the mixing tray
· Scrape each bucket clean
Step 2
· Thoroughly remix the sample shovelling into a heap
· Turn the heap over to form another
· Do this three times
Step 3
· Flatten the final heap by repeatedly digging in the shovel vertically
· Lift the shovel clear each time
· If the alternative method of sampling has been used, divide this heap into two and test each part
Step 4
· Ensure the slump cone is clean and damp
· Place the metal plate on a solid level base
· Place a cone on the plate and stand on the foot pieces
Step 5
· Fill the cone in three equal depth layers
· Use the standard slump tamping rod
· Rod each layer 25 times
· Spread the blows evenly over the area
· Make sure the rod just penetrates the layer below
· Heap the concrete above the top of the cone before rodding the third layer
Step 6
· Top up if necessary
· Use the rod with a sawing and rolling motion to strike the concrete
level with the top of the cone
Step 7
· Carefully clean off spillage from side and base plate
Step 8
· Carefully lift the cone straight up and clear to a count of
between 5 and 10 seconds
Step 9
· Lay the rod across the upturned slump cone
· Measure the distance between the underside of the rod and highest point of the concrete – the true slump
· Record this distance to the nearest 5mm
· In all cases record the kind of slump
· Check the type of slump
· If the slump isn`t true, take a new sample and repeat the test
· Complete the sampling and testing certificates
Types of Slump –There are three kinds of Slump
True
Shear
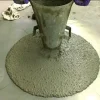
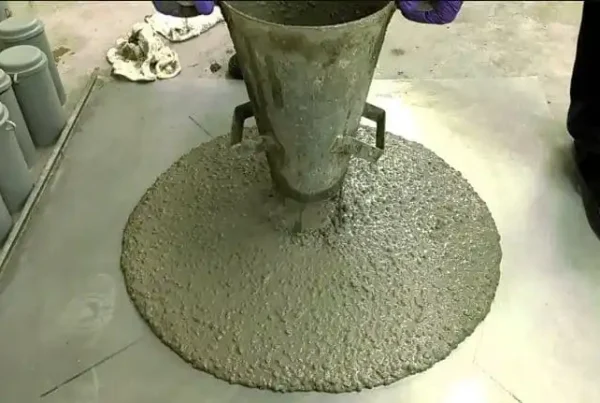
Collapse
True
Shear
Collapse